3D 마야(MAYA)에서 모션 패스(motion path)을 이용한 카메라 애니메이션
- 3D마야
- 2023. 4. 29.
3D 마야(MAYA)에서 모션 패스(motion path)을 이용한 카메라 애니메이션
(Autodesk Maya 2014)
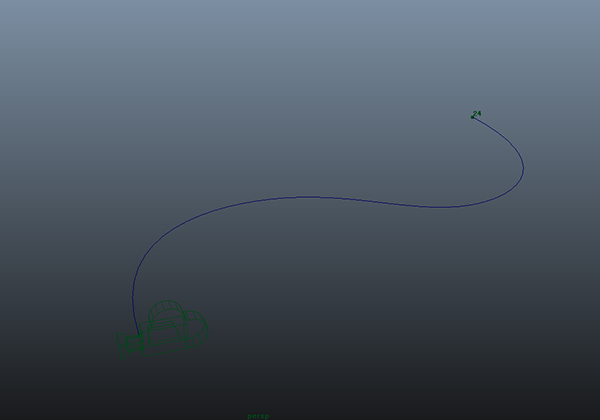
1)카메라와 커브(curve)를 생성합니다.

2)카메라를 먼저 선택하고 커브를 선택합니다.

3)animation 메뉴세트를 선택하고 상단의 animate 메뉴에서 attach to motion path를 선택합니다.

4)카메라를 커브의 시작점에 위치시킨것을 확인할수있습니다.

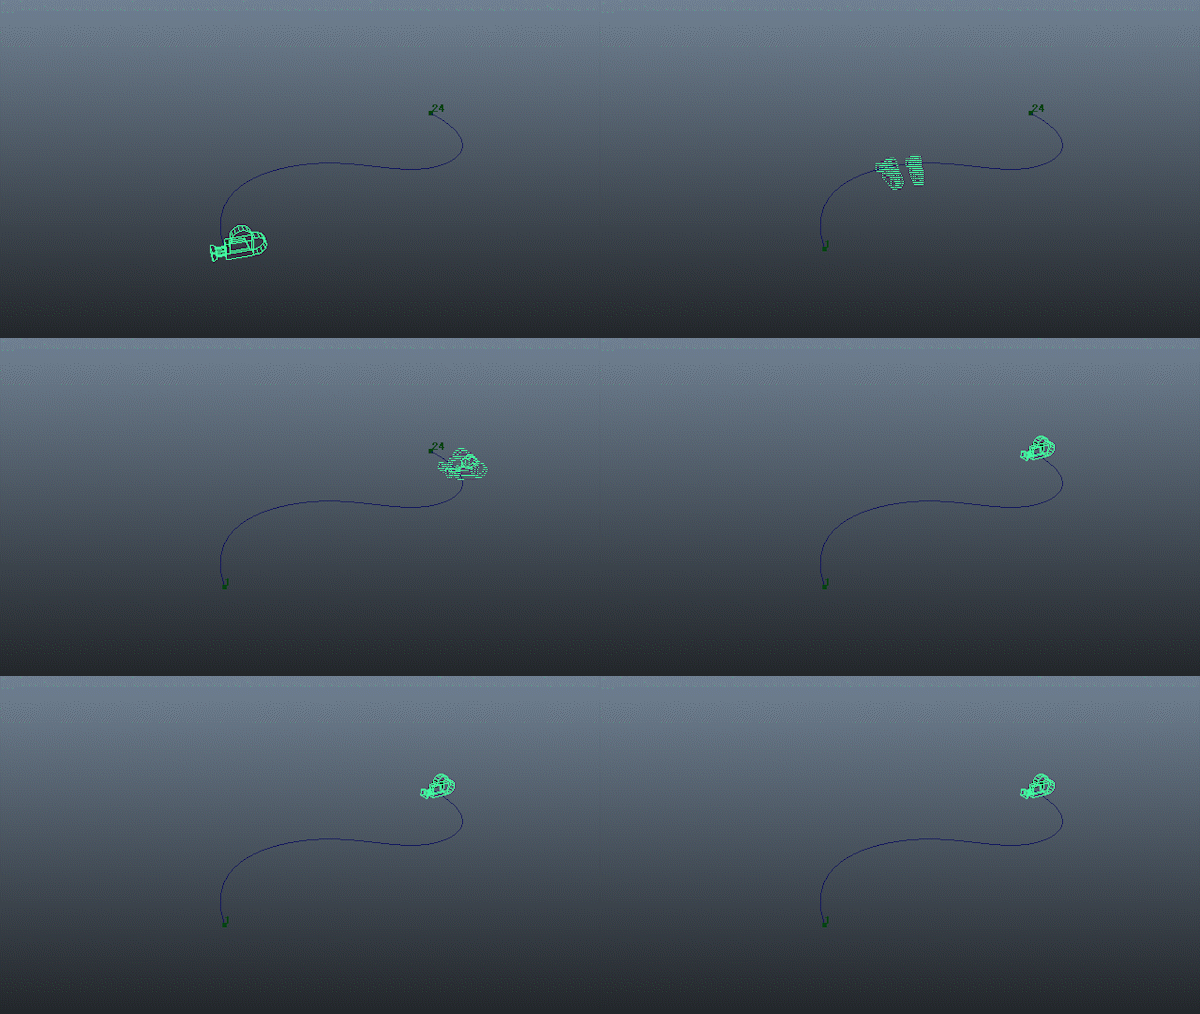
5)애니메이션을 플레이하면 카메라가 시작점(1프레임)에서 끝점(24프레임)으로 이동합니다.

6)카메라의 방향이 커브(동선, path) 위에서 이동 방향과 일치하지않는것을 확인할수있습니다.

7)motionpath 노드의 motion path arrtibutes에서 front axis, up axis를 설정하여 카메라의 방향을 설정합니다.
(front axis - z, up axis - y, inverse front)

8)카메라의 방향이 커브 위에서 이동 방향과 일치하는것을 확인할수있습니다.


9)우측 하단에서 animation preferences로 이동합니다.

10)타임슬라이더(time slider)의 playback end를 24프레임의 두배인 48프레임으로 설정합니다.

11)아웃라이너(outliner)에서 마우스 우클릭하고 show shapes에 체크합니다.

12)curveshape의 하위에서 positionmarker2 노드를 선택합니다.

13)positionmarkershape 노드의 속성에서 time의 기본값 24로 설정되어있는것을 확인할수있습니다.
time을 48로 설정하면 카메라가 시작점(1프레임)에서 끝점(48프레임)까지 이동합니다.


'3D마야' 카테고리의 다른 글
| 3D 마야(MAYA)에서 커브 만들기(CV Curve Tool, EP Curve Tool) (0) | 2023.04.30 |
|---|---|
| 3D 마야(MAYA)에서 displacement 맵 사용하기(Feature-based displacement map) (0) | 2023.04.30 |
| 3D 마야(MAYA)에서 와이어프레임(wireframe) 렌더링하기(툰렌더링을 이용한방법) (0) | 2023.04.29 |
| 3D 마야(MAYA)에서 파티클(particle)를 사용하여 비 내리는 효과 만들기 (0) | 2023.04.29 |
| 3D 마야(MAYA)에서 스팟라이트(spot light)를 카메라 뷰로 사용하기 (0) | 2023.04.25 |